
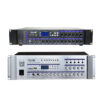


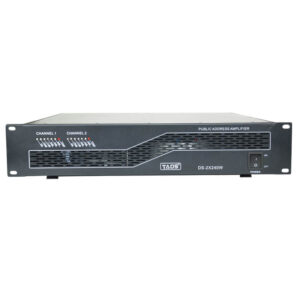
Series 2 Amplifier with Pre-amplifier
描述
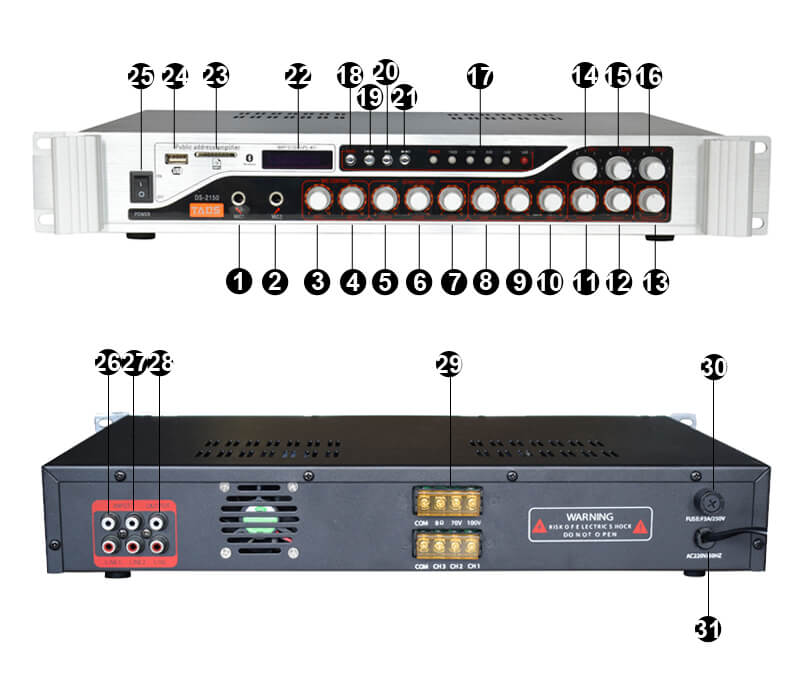
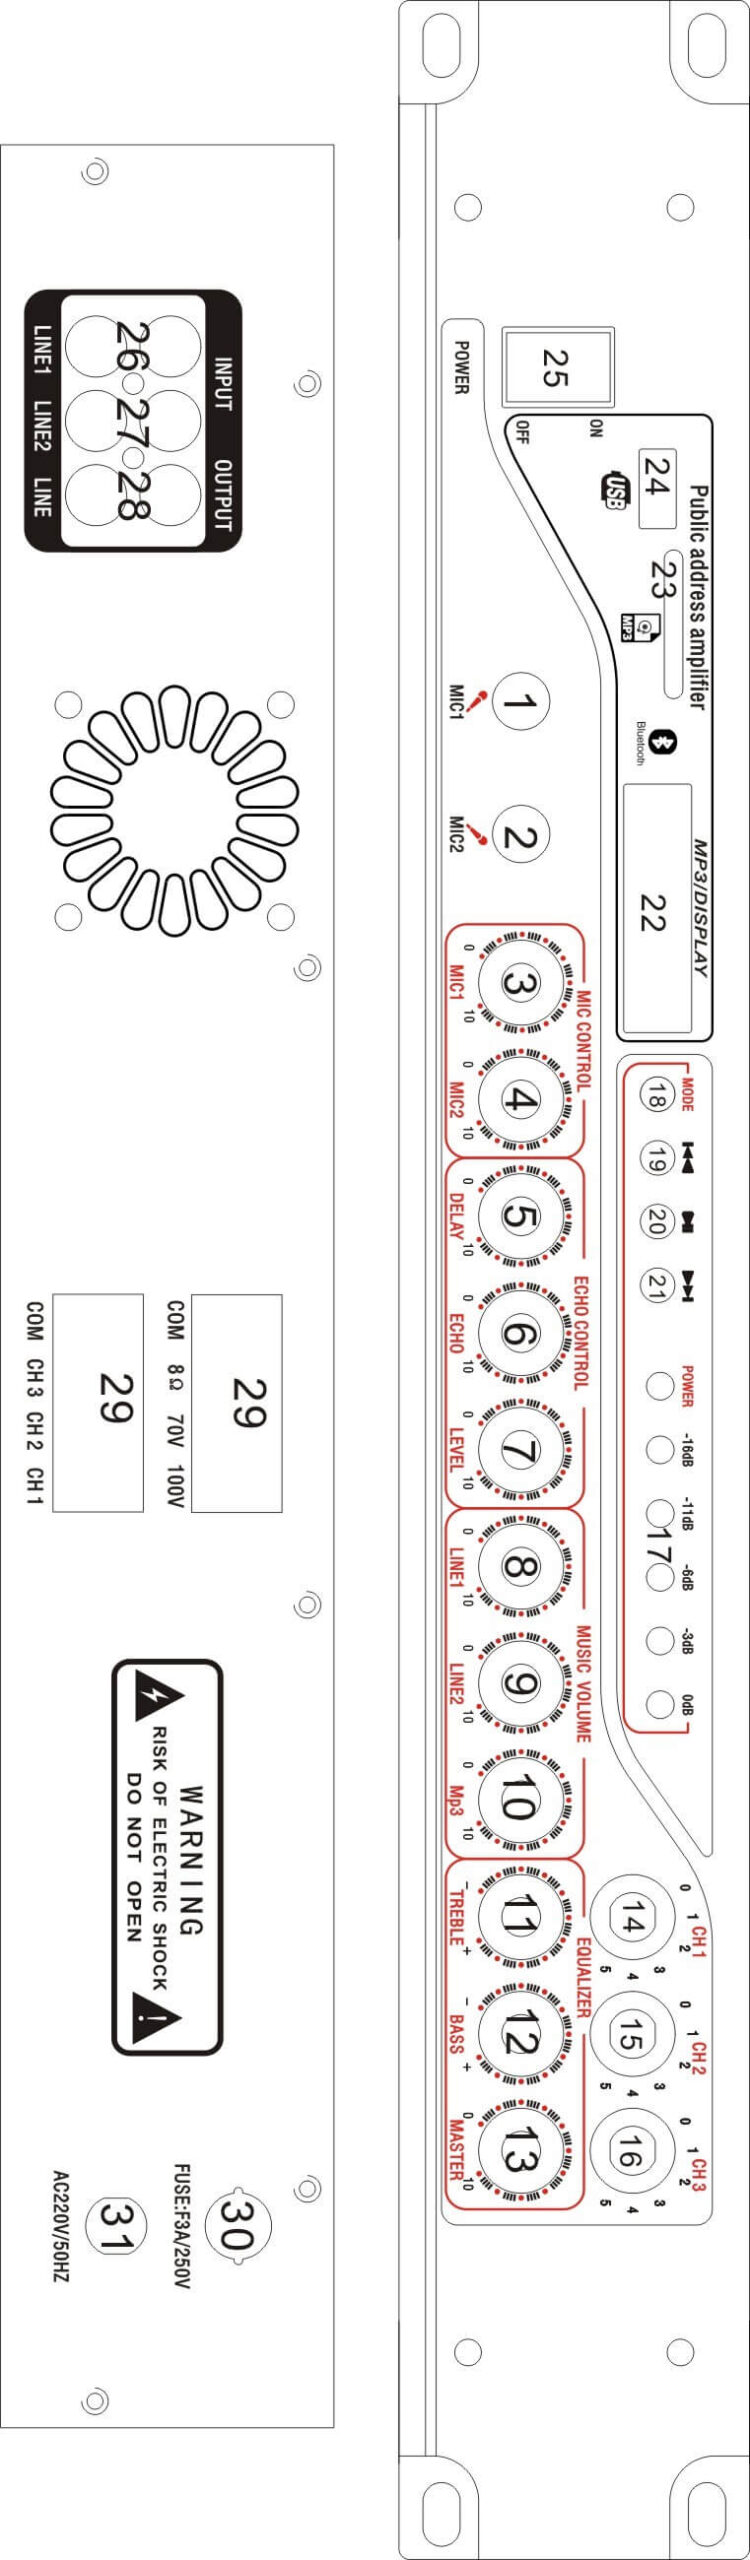
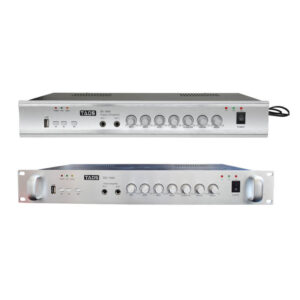
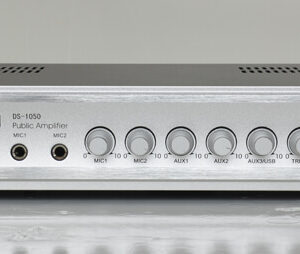
Front Panel:
1)MIC 1 INPUT JACK
Connect your MIC 1 at this location with 1/4” TRS jack.
2)MIC 2 INPUT JACK
Connect your MIC 2 at this location with 1/4” TRS jack.
3)MIC1 LEVEL CONTROL
Let you control the MIC 1 level as they enter the mix
4)MIC2 LEVEL CONTROL
Let you control the MIC 2 level as they enter the mix
5)ECHO DELAY CONTROL
Let you adjust the delay tine for echo.
6)ECHO REPEAT
Control repeat time of the echo effect.
7)ECHO LEVEL CONTROL
Control the depth of the echo effect.
8)LINE1 LEVEL CONTROL
Let you control the line1 level as they enter the mix.
9)LINE2 LEVEL CONTROL
Let you control the line2 level as they enter the mix.
10)MP3 LEVEL CONTROL
Let you control the mp3 level as they enter the mix.
11)MUSIC TREBLE
This knob adjusts the high tone of the music output.
12)MUSIC BASS
This knob adjusts the bass tone of the music output.
13)SPEAKER LEVEL CONTROL
Let you control mixer’s overall SPEAKER volume level.
14)CH1 LEVEL CONTROL
Let you control ch1’s overall SPEAKER volume level.
15)CH2 LEVEL CONTROL
Let you control ch2’s overall SPEAKER volume level.
16)CH3 LEVEL CONTROL
Let you control ch3’s overall SPEAKER volume level.
17) LEVEL DISPLAY
The LED display shows the level of the master output,RED LED indicating when the signal is clip.
18) MP3-MODE
When started, press each time to toggle among the following input sources:
USB/SD-LINE-FM-BT (only when the devices are connected). If no device is connected, it will skip to next device.
19) MP3-PREV
Use this button to select the previous track. Also use this button to control level down.
20) MP3-PLAY/PAUSE
Each time you press this button, the operation changes from play to pause or from pause to play
21) MP3-NEXT
Use this button to select the next track. Also use this button to control level UP.
22) MP3 DISPLAY
To display time and other functions.
23) SD/MMC Slot
Connect your SD/MMC devices to this slot to play music with MP3 or WMA format.
24) USB Slot
Connect your USB devices to this slot to play music with MP3 or WMA format.
25) POWER SWITCH
Use this switch to turn on the unit after all input devices are already connected to prevent damage to you equipment. Turn the unit on/off before you turn off the knob of output level.
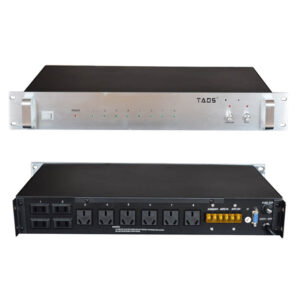
Rear Panel
26) LINE1 IN
Connect your CD/MP3 at this location with RCA jack.
27) LINE2 IN
Connect your CD/MP3 at this location with RCA jack.
28) LINE OUT
Output connects to the main amplifier (DJ final mix after crossfader section), accepts RCA jacks.
29) Power Amplifier Output
Connection between 4 and 16 ohms speakers and Connect 70 v and 100 v constant pressure horn.
30) AC Connection
This unit comes with a 220V AC power source.
31) FUSE
Built-in fuse F3A.
SPECIFICATION
INPUTS:
Microphone……………………………………………………………………..3mv / 30 kΩ
Line……………………………………………………………………………100mv / 10 kΩ
OUTPUTS:
Main………………………………………………………………….…0 dB / 0.775V 600Ω
AMP………………………………………………………………..100W/100V and 150W/100V
Tone Control
Treble……………………………………………………………………………+12dB/-12dB
Bass……………………………………………………………………………..+12dB/-12dB
GENERAL:
Frequency response…………………………………………………..80Hz~15 KHz ±2dB
Distortion………………………………………………………………………………<0.02%
S/N Ratio……………………………………………….……………………better than 70 dB


评价
目前还没有评价